Archive for Crafts

Make my own Rolodex Cards

Sometimes I get an idea for a project and get really carried away.  I’ve spent the past two weeks on such a project. Okay so file this one under silly office supply crafts. I’ve been spending my time making custom cards for my rolodex.  I know that making custom or altered rolodex cards is nothing new and searching the net has provided project ideas from at least 2007 and a good handful of Etsy sellers.

When I come up with an idea or concept my brain fires up a whole list of ideas and things I should try. If you want to know how this thought process goes in my head – it’s something like the following.

Let’s say that it is an average afternoon at the office and my system is busy producing report after report of data.  Bored I look over at my rolodex and think: *** It would be helpful if some of these cards were colored so I could find them easier. ***It would be more fun to look at on a daily basis if they were colors.  I could use the little colored plastic covers for each card but where is the fun in that. *** I have a card punch that adds holes to business cards sp I really could just get colored card stock and make my own. *** I suppose if I can do that I could print some scans of my artwork on cards and cut those out. ***You know – I have all this fancy scrapbooking paper around – I could make stuff out of that too.*** Hmmm – If I could use cardstock – couldn’t I use heavy watercolor paper and paint my own? *** I wonder if paint sample cards would work? *** A set of tabbed cards would be nice – I can make those with numbers or months instead of the typical a to z. ***

As a result of the latest internal dialog I’ve spent the past two weeks creating rolodex madness.  I’m not sure if I gained any creative insights from this process but if I gained anything from this experience it was a slightly mindless pursuit that helped me wind down after a day of aggravation in the office.  Silly office crafts can bring the stress from work down a notch.  It’s like thumbing your nose at the corporate machine by turning the tools of the trade into art and frivolity.

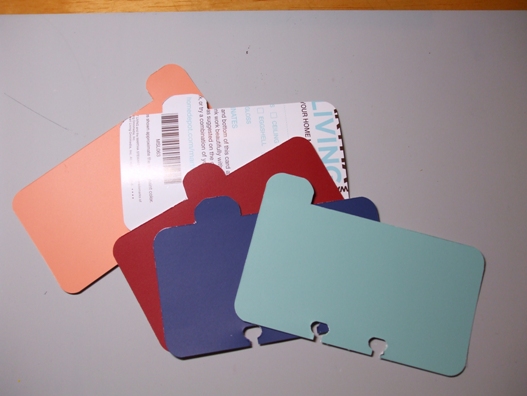
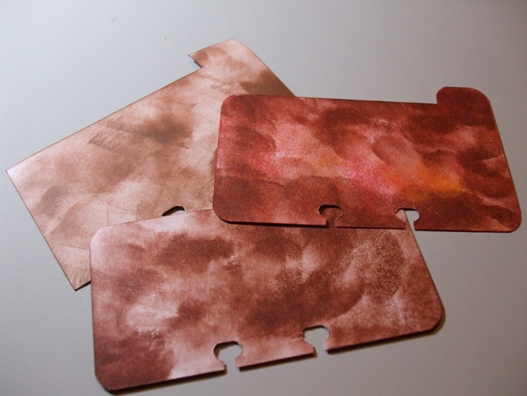
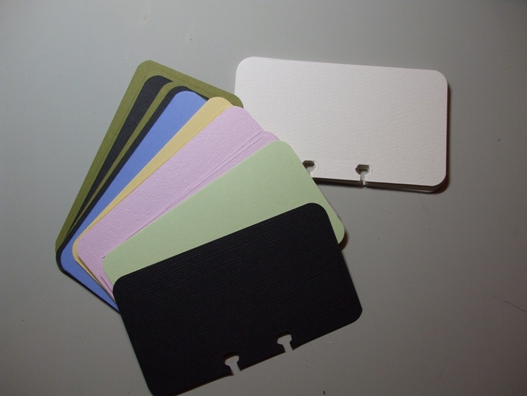
Here are just plain cards from colored paper with some watercolor paper waiting to be painted.

Cards

Basic Cards from Card Stock and Watercolor Paper


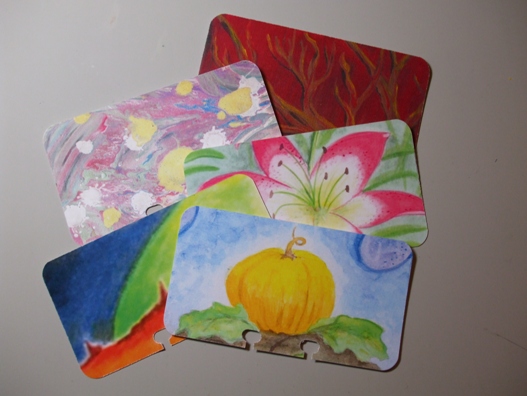
These are cards cut from scans of my art that I printed on to white card stock.

Cards

Cards from Art Scans


More Art Designs made into cards.

The first tabs I tried were from paint chips.  I found that the corner punch did not work for every angle of the tab.  Cutting these curves with a razor produced sloppy results. I tried scissors as well with just slightly better results.  Also with the paint chips the white edge looks sloppy.  I did find on other tabs that going around the edges with a marker or stamp pad polished things up a bit.

Tabs

Index Tabs from Paint Chips


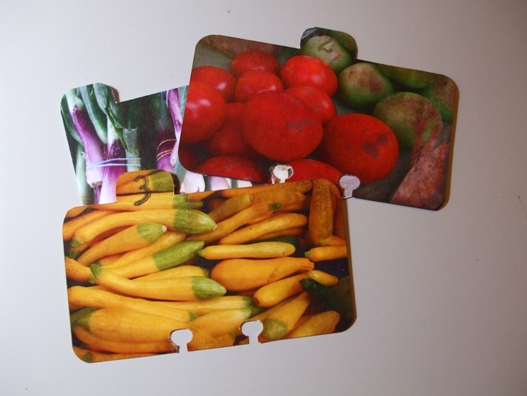
These are tabs I made from photos I took at a farmers market.  I also tried to “distress” a few with brown dye based ink.

Farmers Market Tab Cards


More Farmers Market Tab Cards

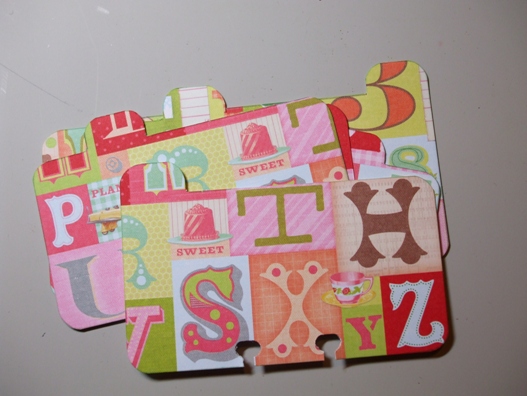
These are from scrapbook paper.  Not so bad but I was still having trouble with the edge rounder.  I also distressed one with ink.  Not so bad. 

Tabs

Tabbed Index Cards from Decorative Paper


I didn’t want to leave the backs white so I worked on applying some color but I’m not sure I like the result at all.  This is a work in progress.

Card Backs

Card Backs

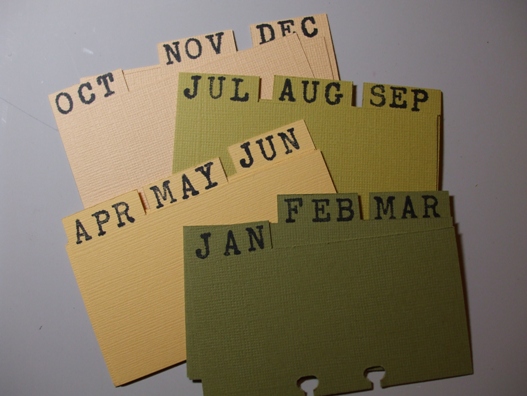
After looking around I decided to adjust my template a little.  These are probably my best ones so far.  The longer tabs look okay and are also not rounded so the “handy-crafty-cutty-ness” is limited.  You could use these for a set of birthday/anniversary cards.

Month Tab Cards

Month Tab Cards

It’s been fun and I’m not sure I’m done yet.

 You might ask – what is the point.  Does there have to be one? Just making these was fun and relaxing.  In the very least – tucking a few of the decorated cards into your standard rolodex could bring you a smile when you have to look up a number. Perhaps the better mood will lead to better business cards? Adding a little art to your day can only improve it.

Art n’ Craft

When I started “Finding Art Again” I took it so literally and confined myself to traditional art media. Drawing and Painting with a little sculpture here and there. In my youth I used to draw and paint or “do art”, as you might say, all the time. Then for a little more than a decade I didn’t do anything.

That isn’t exactly true.

What I didn’t do was create “hang on your wall” art. If I look back upon the middle ages of my creative self I will find there was art happening. In those so called dark days I taught myself to sew beyond your basic throw pillow making everything from my living room curtains to costumes for my charity interests. I crafted all sorts of little items that would find their way onto my desk or on an end table. I discovered how to make sugar skulls and decorate them with royal icing. I made at least one Christmas ornament every year. My work notes were (and still are) covered in doodles. I may have lost my way but I certainly didn’t lose art! I need to acknowledge that more. Creativity certainly isn’t something that you can put back in the box once it has escaped.

I wonder why I fall victim to the all too common snobbery of discounting other forms of creativity as not being an expression of Art. Yes my crafty types of projects are not my drawing and painting but they are no less important to the overall creative process. They have their own lessons to teach and each of these projects offers a certain therapeutic benefit that painting does not always give me. It’s really just not my personality to do one thing. I like variety.

I guess my point is – while I confined “Finding Art Again” to be just my drawing and painting I wonder if I really should have included it to be all of my creative output. Does the art tell the story or is it only a part of it. The complete picture of me is drawing, painting, sewing, crafting and whatever else passes my way. As long as I’m making something – I’m a fairly happy guy. I may post a few of my crafty endeavors and see how it goes. It is as if finding art is redefining it in a dynamic ever-changing process. I haven’t decided if I want to combine everything into one blog or not but I’m sure the process will be fun.

In search of a Perfect Watercolor Palette Box

It was decades ago, somewhere between my teen and early adult years, when I first decided that I was interested in working in watercolor. Until then – I was happy using the Crayola set of 8 colors that many of us will be familiar with. This was a big improvement over the tin box I received at some point as a child.  That set – which is still sitting in a box somewhere – was remarkable in its ability to resist water. I swear that each pan was coated with a layer of shellac just to keep the kids busy a few minutes longer. In any case, the little set of eight colors I had progressed to was, and still is, quite versatile, but I’m not one to limit myself to the basics.

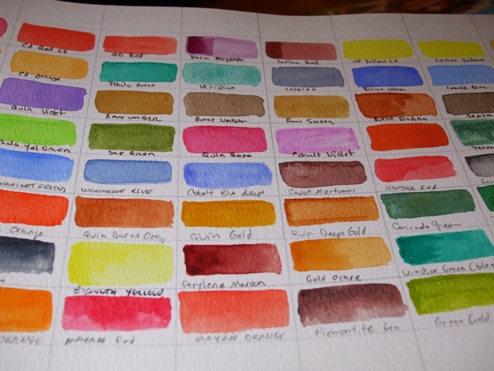
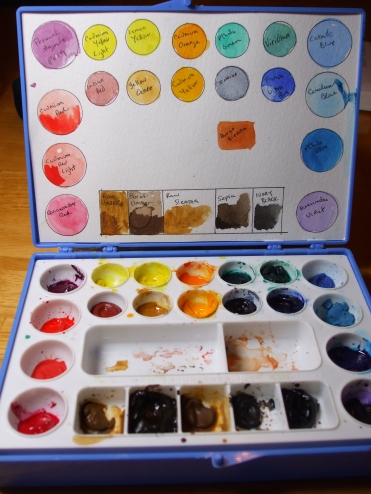
Color Chart

My useful color chart

 I believe in the watercolor world there are two kinds of people – those who work from pans of color and those who work from tubes.  I’m a pan kind of guy.  I like to buy my paint in tubes and then fill some sort of permanent container with the colors for my use. If I need a large amount of something, I just get the tube and work that way. I’m sure years of working with watercolor sets as a child have influenced me.

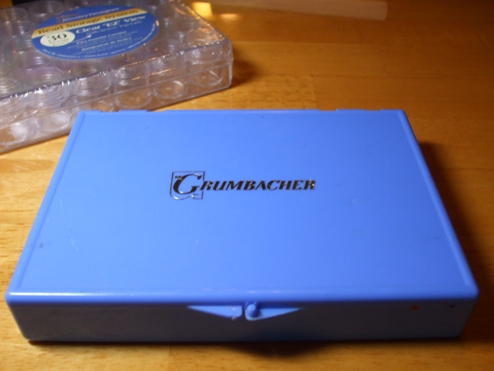
Grumbacher Blue Box

Grumbacher Blue Box


So back to my young adulthood, all those years ago I had stumbled upon a palette box by Grumbacher which contained about twenty-five little wells and for years I was happy with it. I’m not sure if it was for watercolor or ink or what have you but I filled it with the basic colors and it served me well for a long time.  The lid was a perfect place to paste in a piece of watercolor paper for reference. This set up makes me happy.

Grumbacher Paint Box

Old Blue - my trusty paintbox for a couple of decades

As it happens with much of my art & craft supplies, my collection of paints has increased. Note: This is the point where all the purists go crazy and begin to lecture me about how you only need six colors, maximum and you can create any color from those very basic collections of warm and cool basics. If you want to go over the top you are allowed to take in a few earth tones, but don’t overdo it!

 I say BAH!!!! I was not put on this earth to limit myself to a tiny color palette!

 When I embarked on my mission to “Find Art Again” I pulled out my old blue box and began to search for another one so I could expand my available “pans” of color. Of course the Grumbacher paint box was nowhere to be found.  I wanted something that would allow me to expand to new colors as I found them but also to be flexible and somewhat portable.

 There are several “pan” boxes out there which would allow me to buy empty pans, fill them with my own color and rotate as desired. The cost of about $60 for a metal box with plastic inserts just didn’t sit well with me.  At that rate my Altoid’s mint boxes should be worth at least $5 a piece and I must have a fortune in soup cans at home.  For the record there are projects out there for making a travel palette from old mint tins and fimo clay.  I looked at make-up artist palettes but they were black in color and did not look like they could travel if needed.  I purchased a few Mijello Palettes but they sit in a drawer.  Next I decided that a custom solution might be in order.  I found these little paint containers sold at most craft stores and an idea began to form.  The main issue was how I would store and track all of these little containers. They are sold loose and the packages contained several sizes.  Some were opaque and others the wrong size.  None of them came in a handy storage box. How could I make them useful?

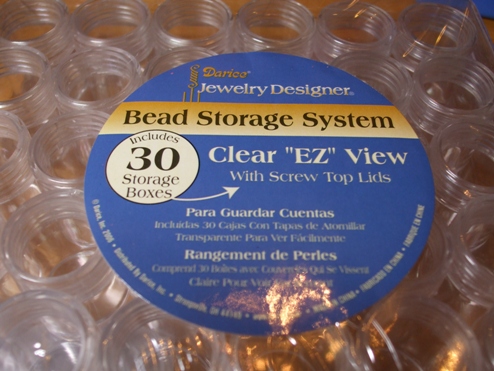
Storage Jars

Storage Jars

Then one day I stumbled upon these little containers by Darico that I think are designed to hold beads for jewelry makers.  They were exactly the right size for my needs, everything was clear plastic. There was a container with a lid. I could work with this.

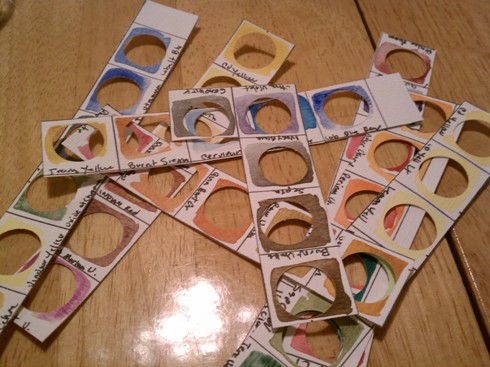
Punched Watercolor Samples

Punched Watercolor Samples

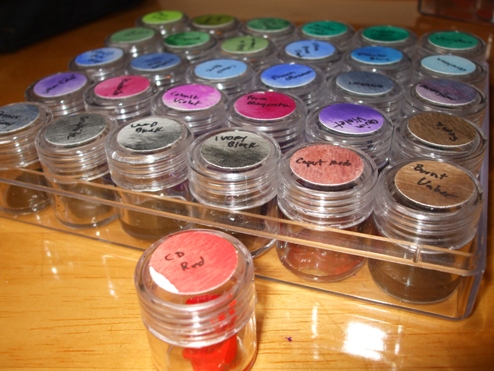
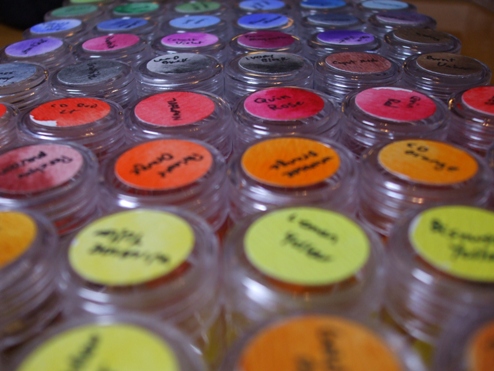
So I began by making swatches of my paint colors and then I punched them out with a circle punch which was slightly smaller than the jar lids.  I glued them on with a little dab of white glue, labeled them with permanent ink and have found this to be a workable and flexible system for my watercolor pans.

Palette Box

My new and "improved" palette watercolor paint box.

So far I’ve enjoyed this type of paint box.  Perhaps the only thing I miss from my old Grumbacher box is the color chart that I’ve pasted to the cover.  The chart is a very useful thing to have.   I’d like to design something in the future that would allow me to arrange a selection of jars into a holder without the lids, but to still keep track of the contents either by a color chart or something that holds the lids to function as a color chart.  I’m sure I will come up with something – I just need more time to figure it out.

Jar of Color

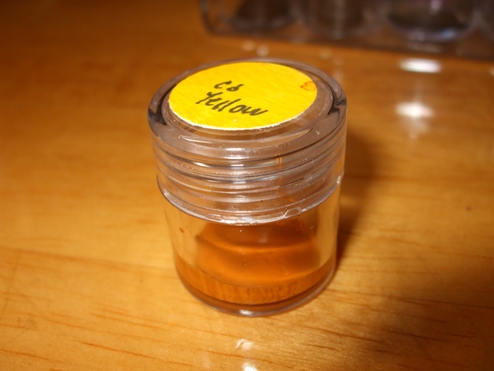
Jar of Cadmium Yellow

I’m sure many will think this is just too complicated or time waster but once it was all in place there isn’t much to think about and every color I want is instantly at my disposal.  I can arrange colors any way I see fit depending on my project.  I can grab a few key colors if I want to take my paint on the road. 

Paint on the Horizon

Paint on the Horizon

I wonder if anyone else has ever done this or how they have solved the same need in the studio.  This is what happens when crafter meets artist I suppose.  There is a project in everything!